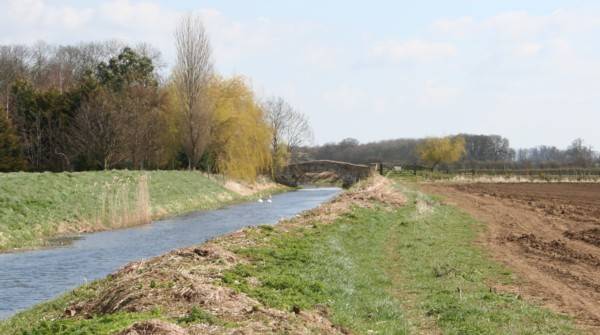
White House Bridge, 2006. Although this side is the towpath, no access is available past the bridge; you need to swap to the North bank at Papermill Lane Bridge.
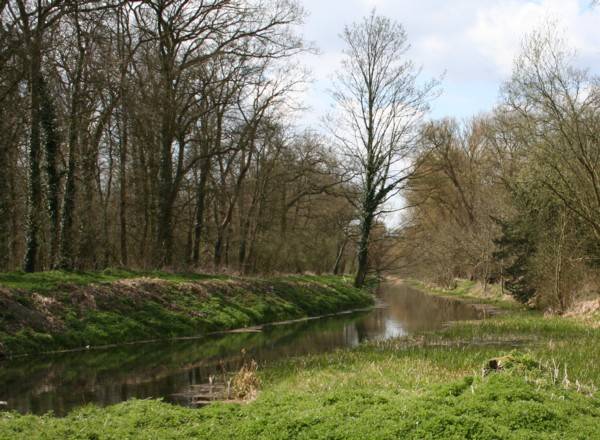
Looking SW from Haverholme Lock, 2006
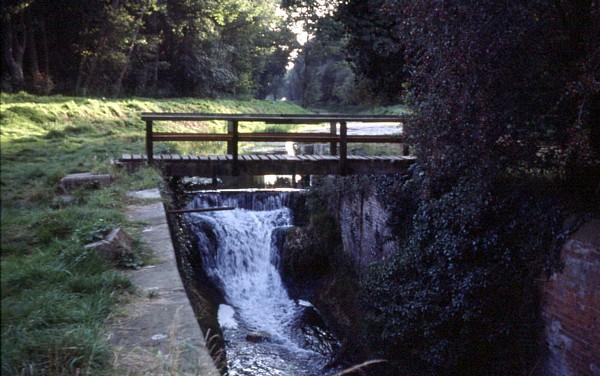
Haverholme Lock, 1986
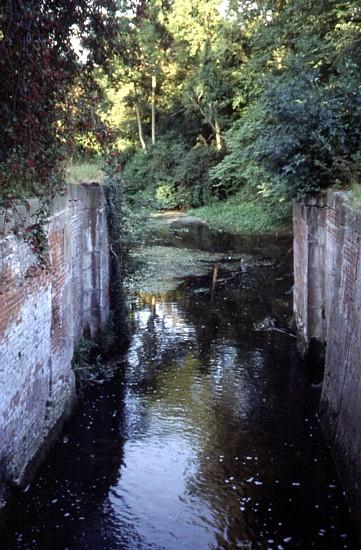
Looking down Haverholme Lock, 1986
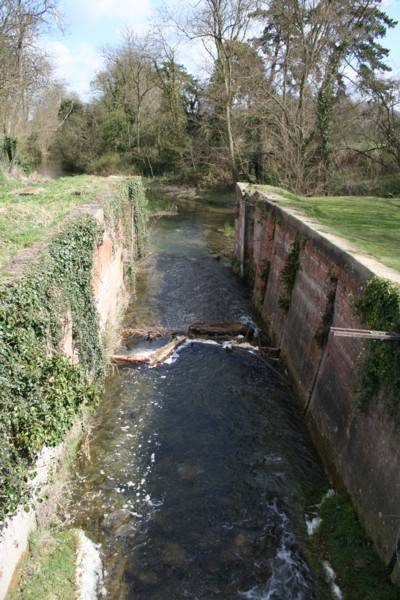
Looking down Haverholme Lock, 2006
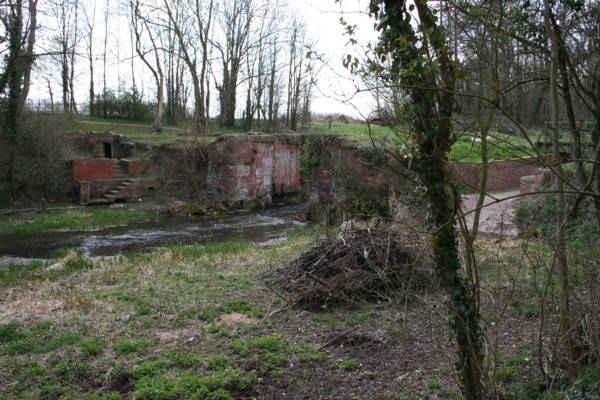
Below Haverholme Lock, 2006