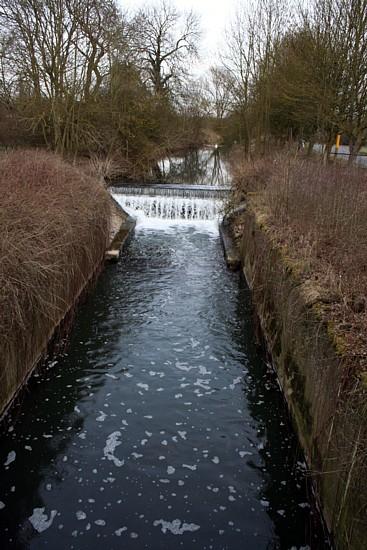
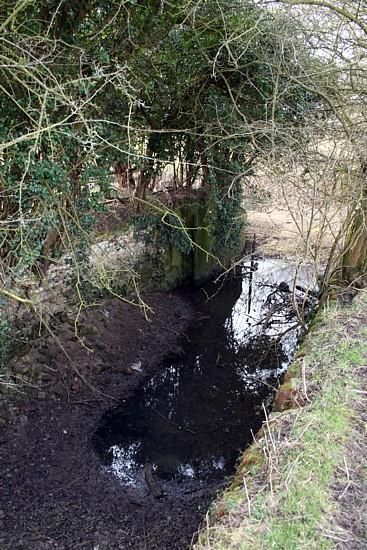
Asfordby Lock, 2010
This lock is near the tail of the lock cut, and has been much modified in turning it into a weir.
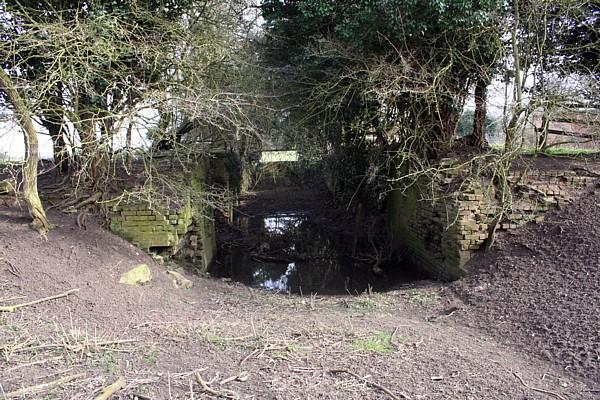
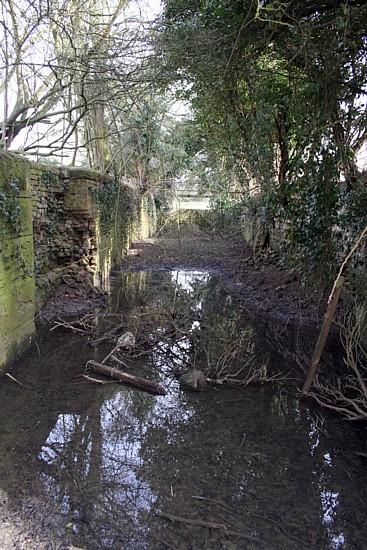
Kirby Bellars Lock from below, 2010
Kirby Bellars Lock, 2010
The lock is at the tail of a long lock cut
Head weir at Kirby Bellars Lock, 2010
Tail of Kirby Bellars Lock, 2010
Looking up Kirby Bellars Lock, 2010

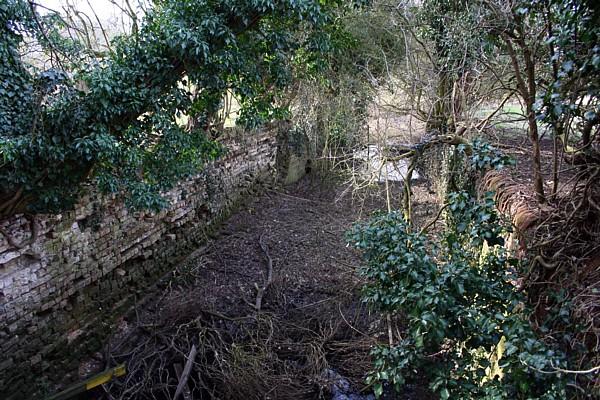
The dry lock cut above Kirby Bellars Lock, 2010
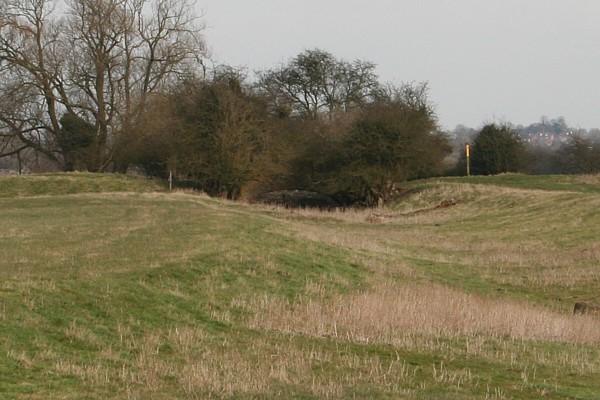
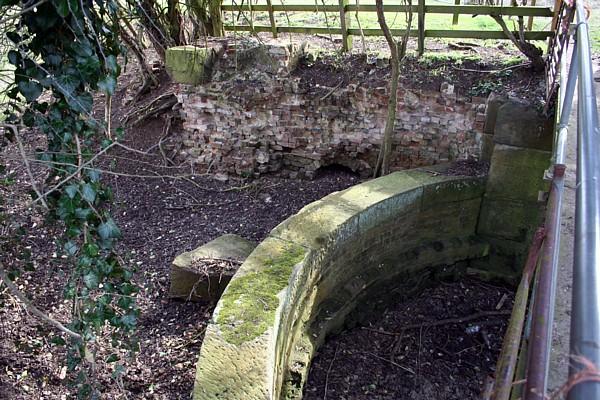
Closeup of the accommodation bridge over the dry lock cut above Kirby Bellars Lock, 2010
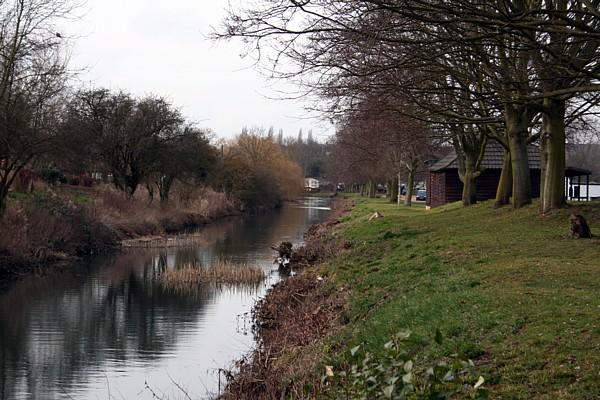
The navigation channel in Melton Mowbray, 2010
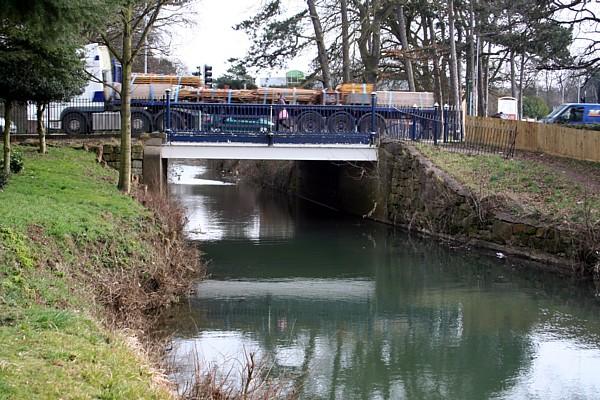
The A607 bridge across the navigation channel in Melton Mowbray, 2010
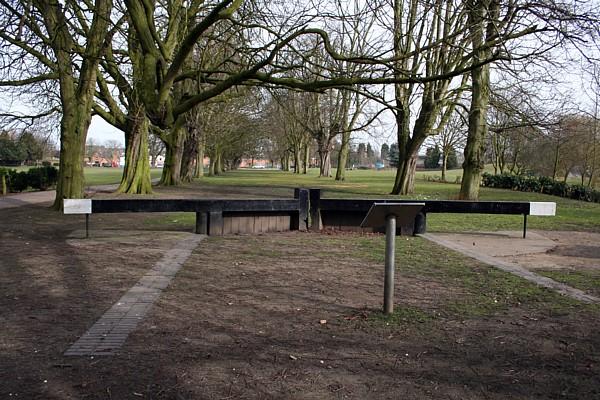
Mockup of a lock on the line the former navigation channel in Melton Mowbray, 2010
The channel ran along the line of the trees to a basin in the distance, beyond which the Oakham Canal continued.
There never was a lock on this site.