
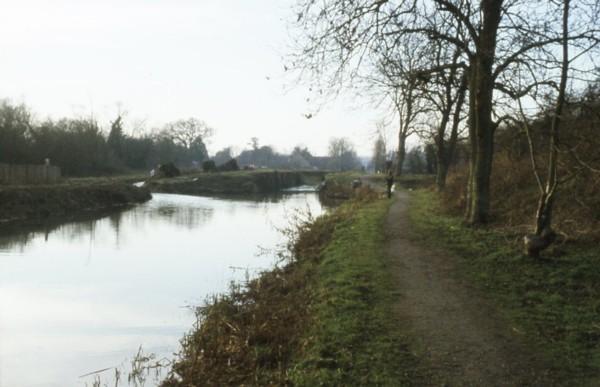
The derelict Padworth Lock 96 from below, 1980.
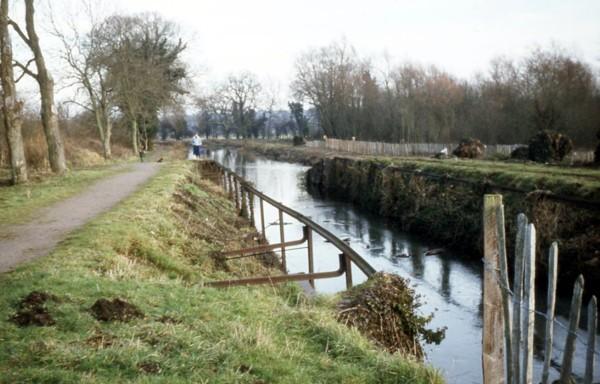
The derelict Padworth Lock 96 from below, 1982.
The trees and shrubs on the offside have now been cleared

The upper end of the derelict Padworth Lock 96, 1982.
The derelict Padworth Lock 96 from above, 1982.
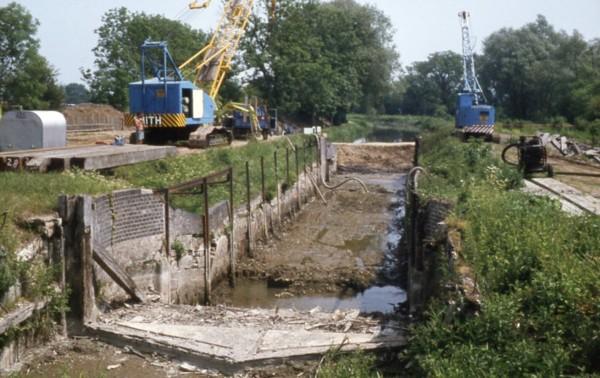
Padworth Lock 96, 1982.
The chamber has been cleaned out.
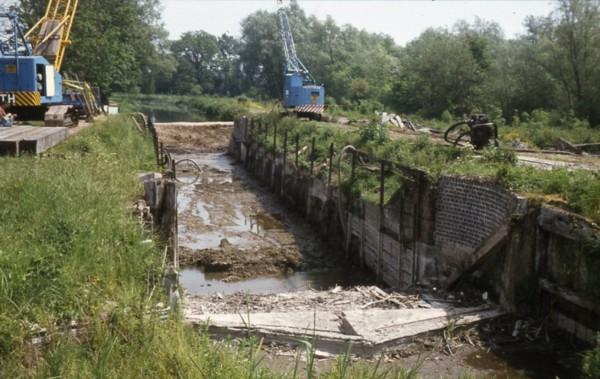
Padworth Lock 96, 1982.
It became clear why the lock could not be restored in its original form.
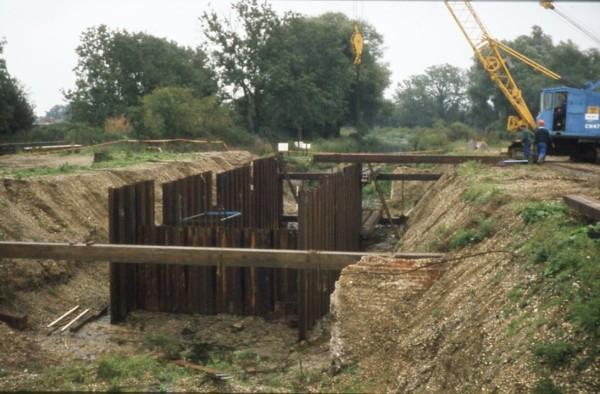
Padworth Lock 96, 1982.
The first piles are in place
Padworth Lock 96, 1983.
The concrete lockside has been started on the north side
Padworth Lock 96, 1983.
A closer look

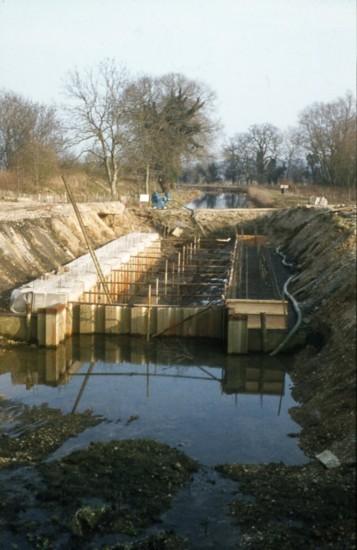
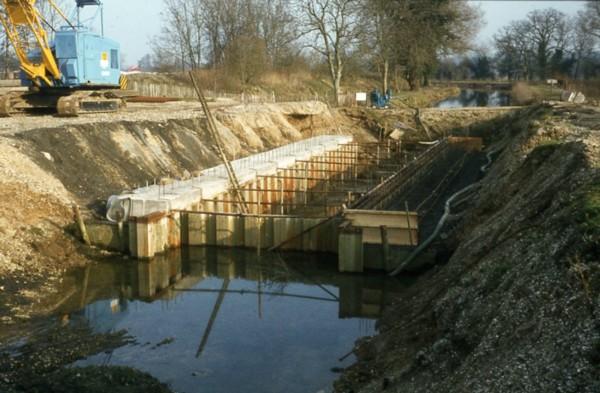
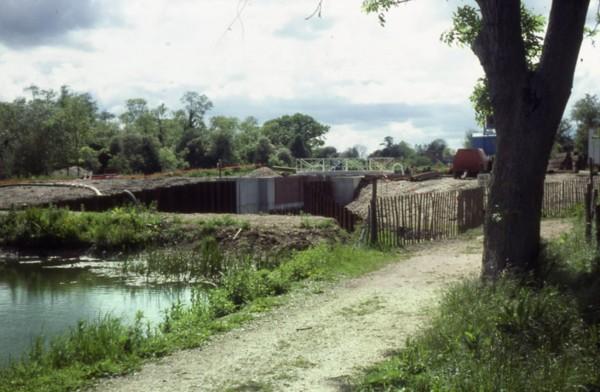
Padworth Lock 96, 1983.
The chamber approaches completion
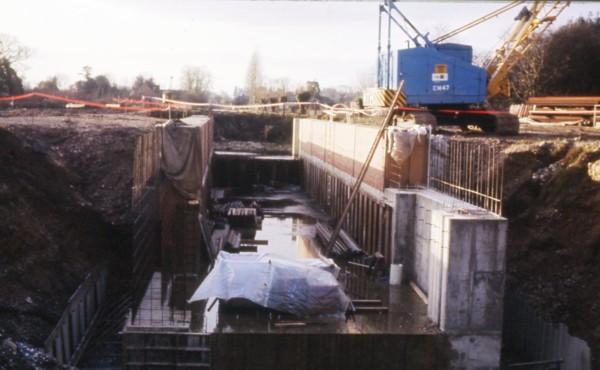
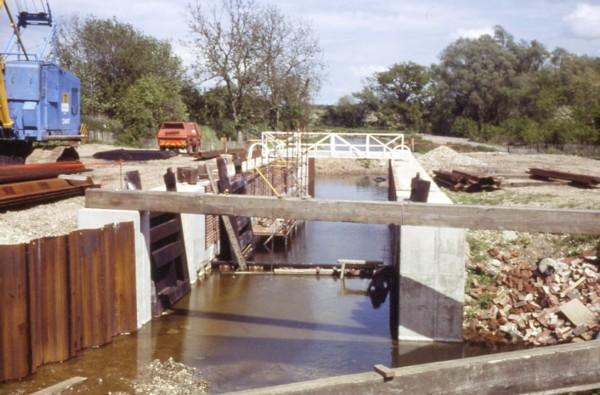
Padworth Lock 96, 1983.
Work on the tailbay is under way
Padworth Lock 96, 1984.
Gates ready to be fitted.
Padworth Lock 96, 1984.
From below
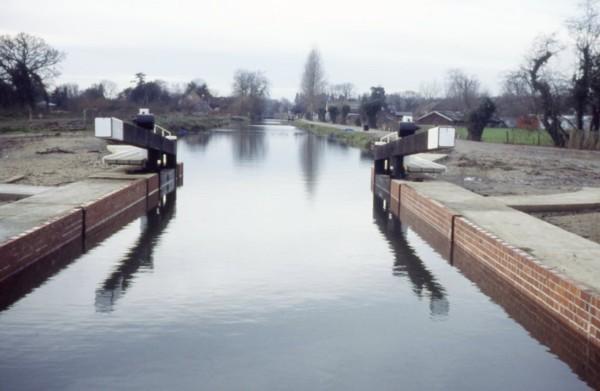
Padworth Lock 96, 1984.
Ready for use. It just needs Padworth Swingbridge to be reopened.