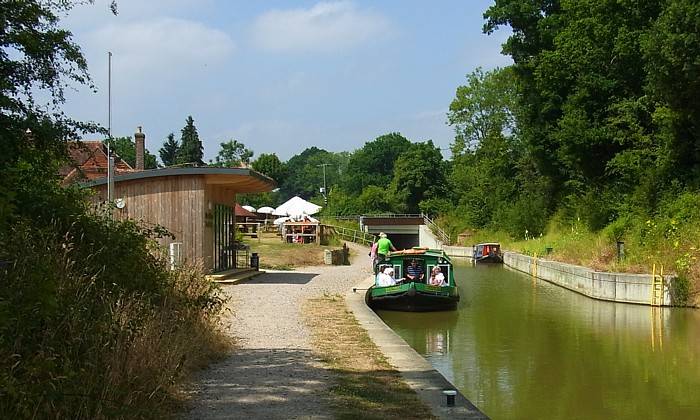
Loxwood Bridge and Visitor Centre, 2013
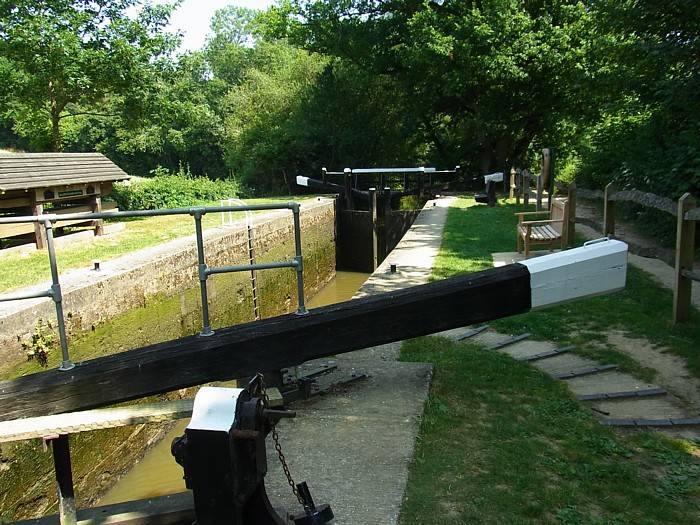
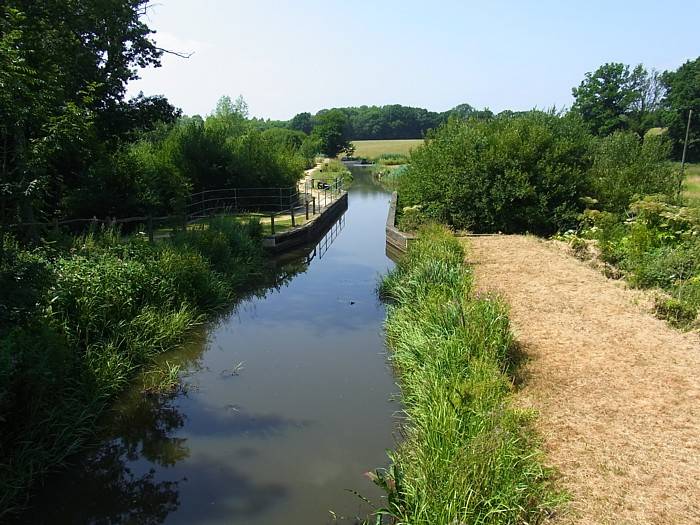
Brewhurst Lock 5 from above, 2013
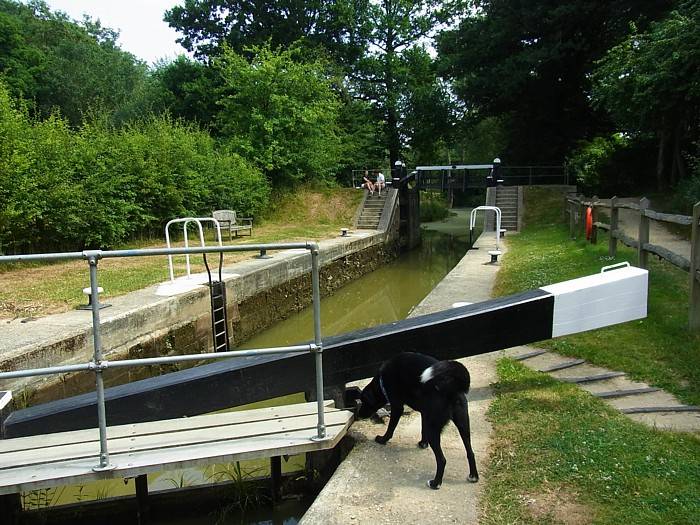
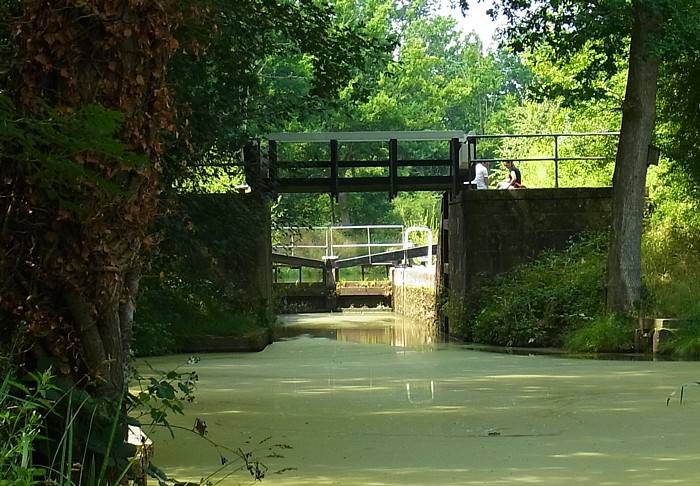
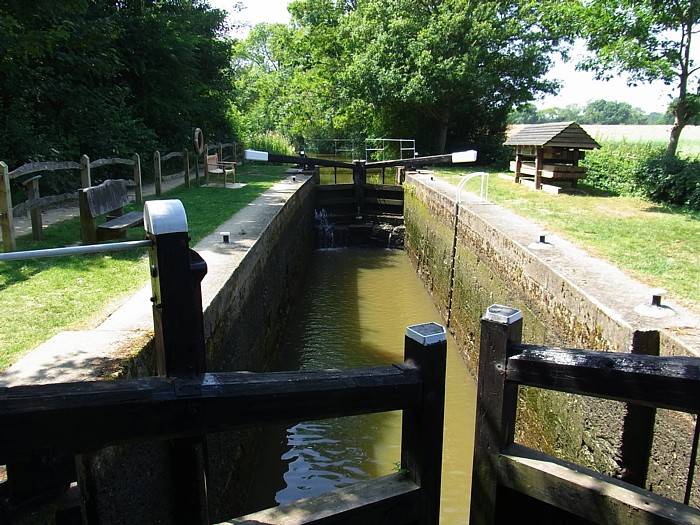
Brewhurst Lock 5, 2013
The bottom gates show the original lock depth before the pound above was lowered
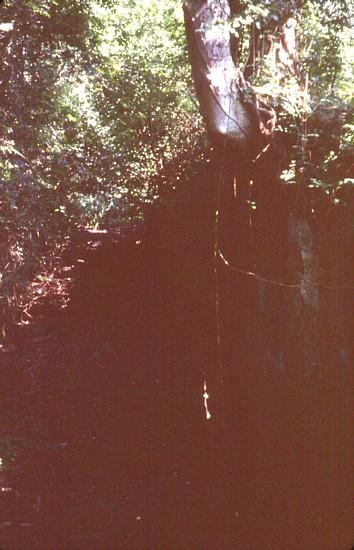
Brewhurst Lock 5, 1979
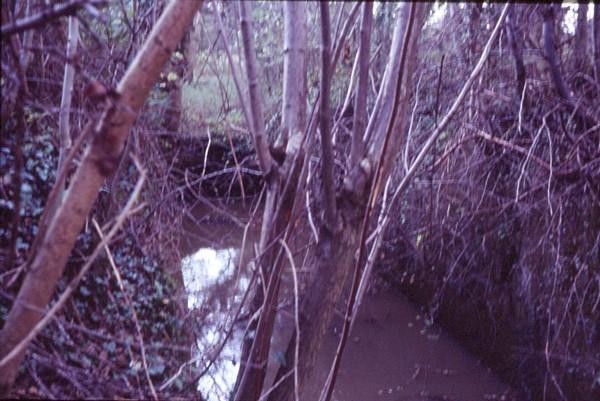
Brewhurst Lock 5, 1987
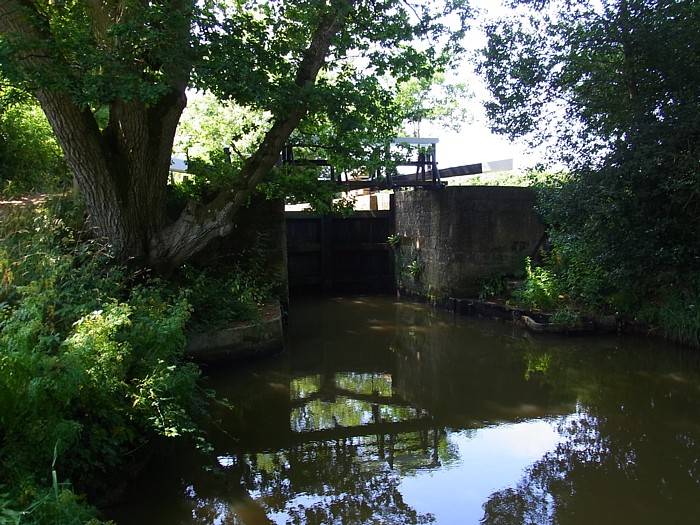
Brewhurst Lock 5 from below, 2013
Now restored and rebuilt!
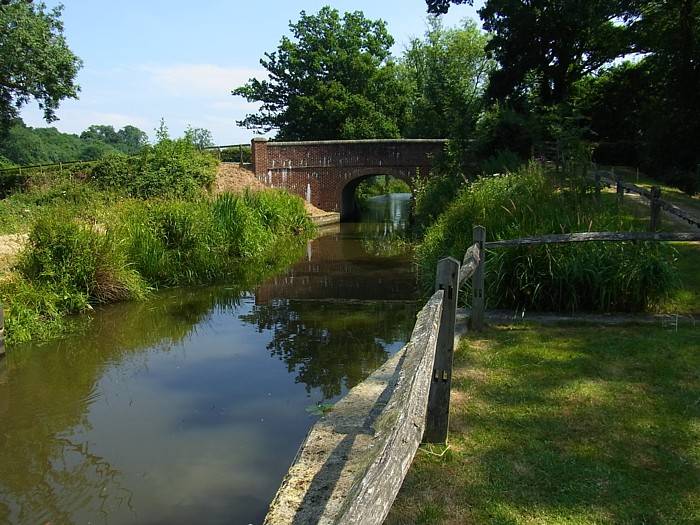
Brewhurst Lane Bridge, 2013
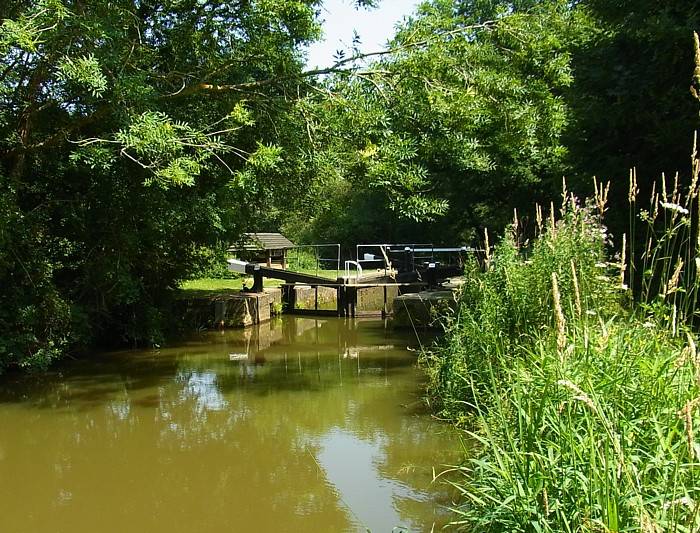
Baldwin's Knob Lock 4 from above, 2013
Baldwin's Knob Lock 4, 2013
Baldwin's Knob Lock 4, 2013
Baldwin's Knob Lock 4 from below, 2013

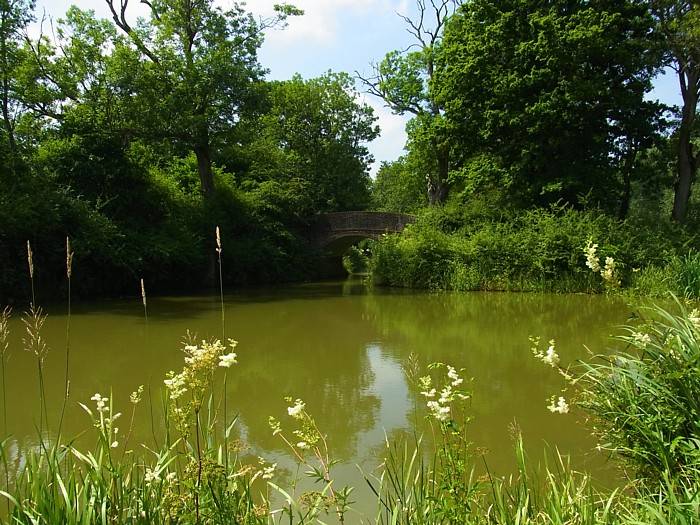
Barnsill Bridge, 2013
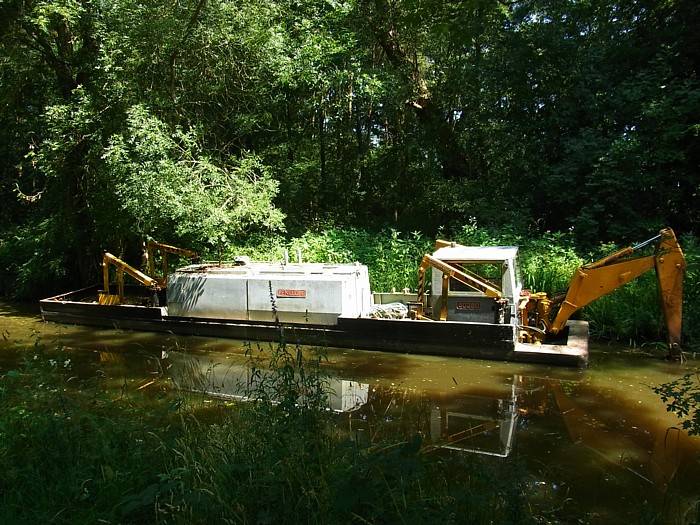
Dredger moored near Barnsill Bridge, 2013
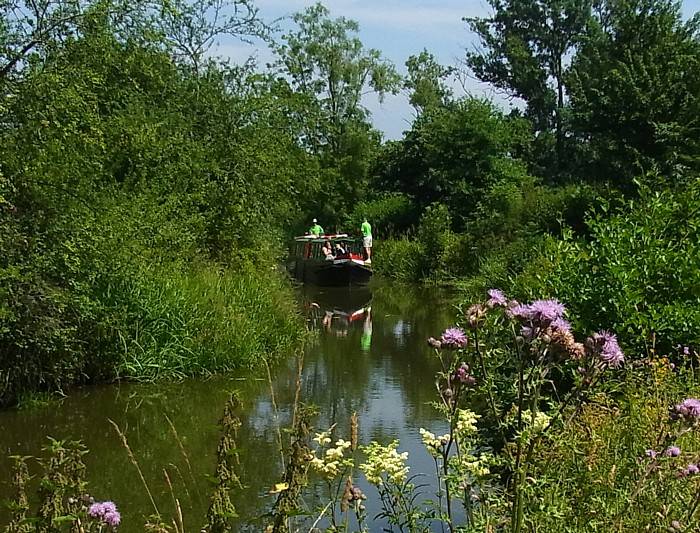
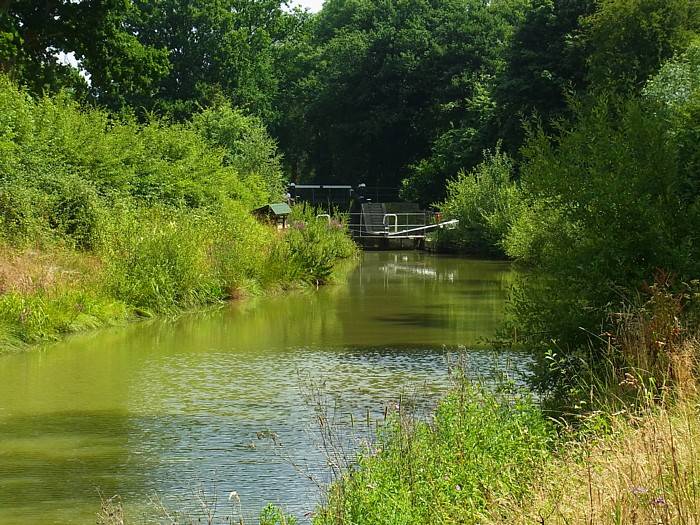
Trip boat travelling between Drungewick Aqueduct and Barnsill Bridge, 2013
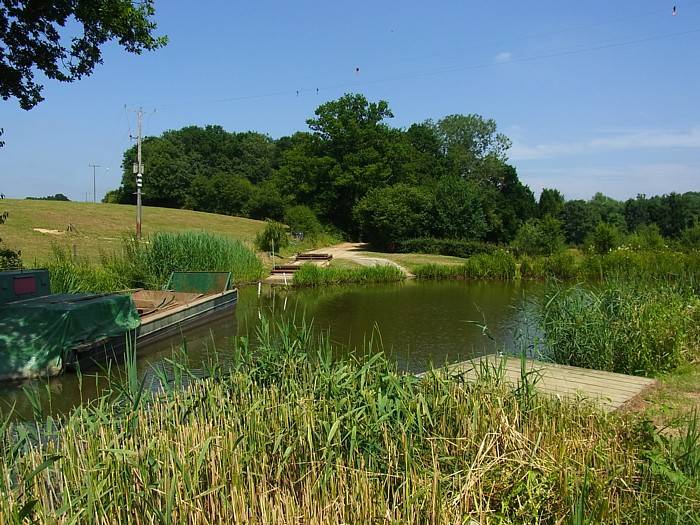
Slipways at Roger Dimmocks Lane, 2013
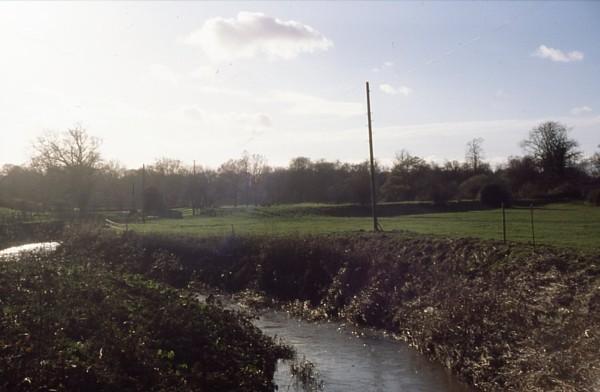
Site of Drungewick Aqueduct, 1987
The line of the approach embankment can be seen behind the telegraph pole.
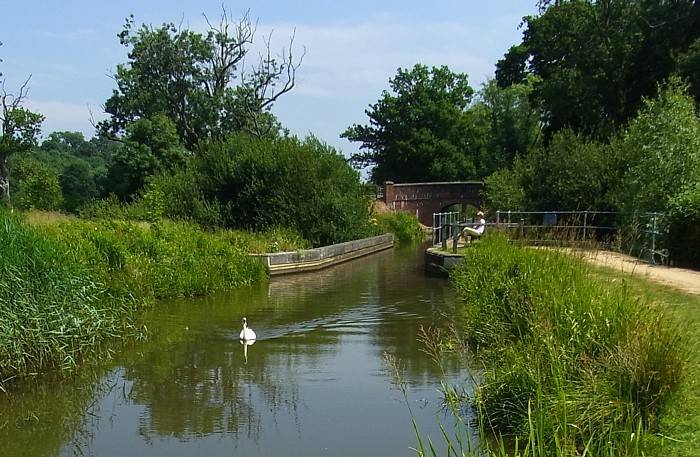
Drungewick Aqueduct and Bridge, 2013
Drungewick Aqueduct from Drungewick Lane Bridge, 2013
Drungewick Lane Bridge, 2013