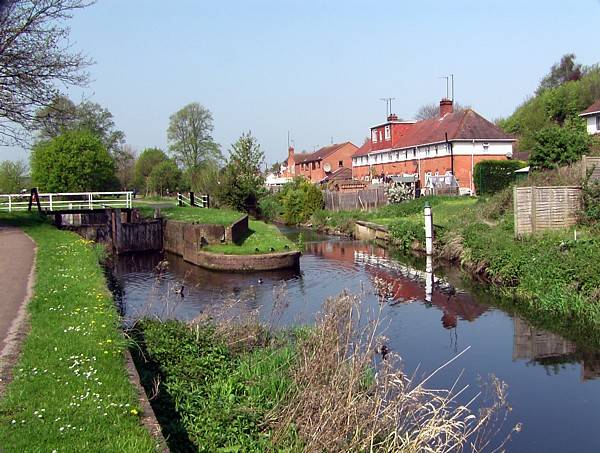
The entrance from the Droitwich Junction Canal, to the left through the Barge Lock
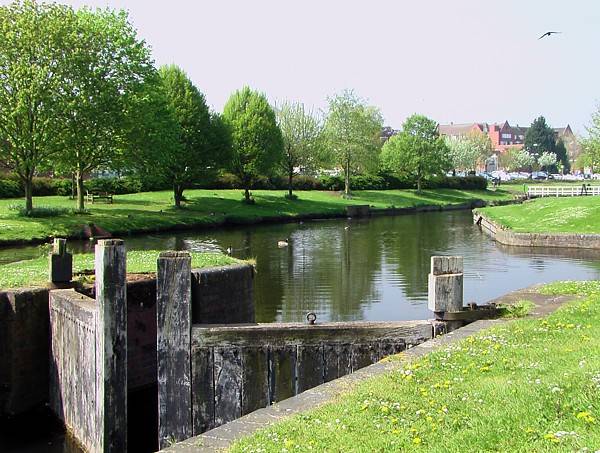
Looking West from the Barge Lock in Vines Park
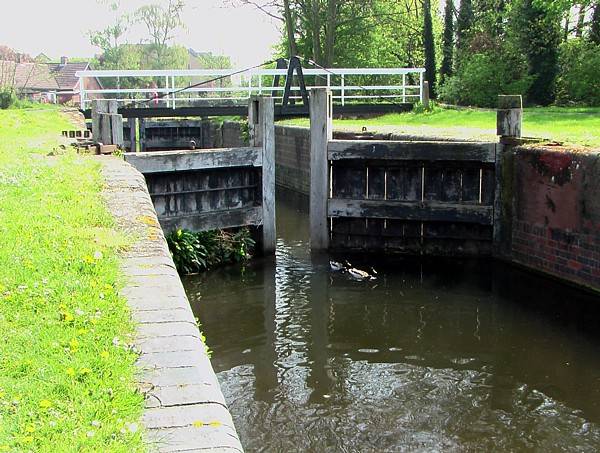
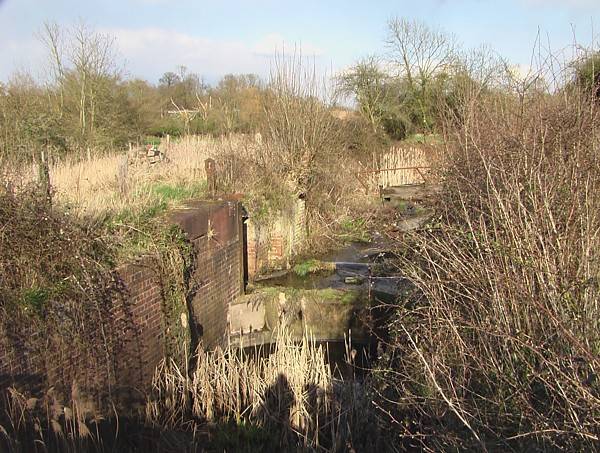
The Barge Lock in Vines Park
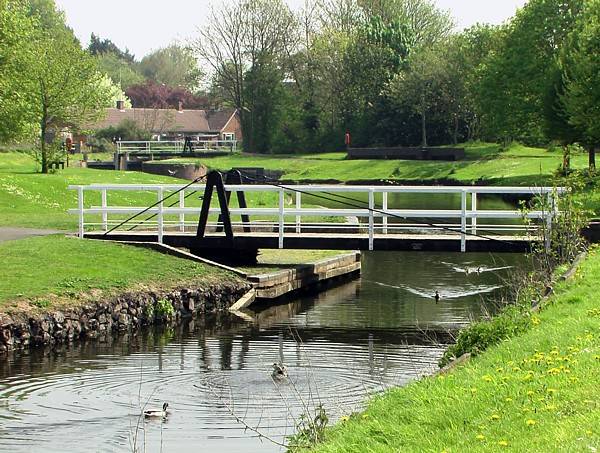
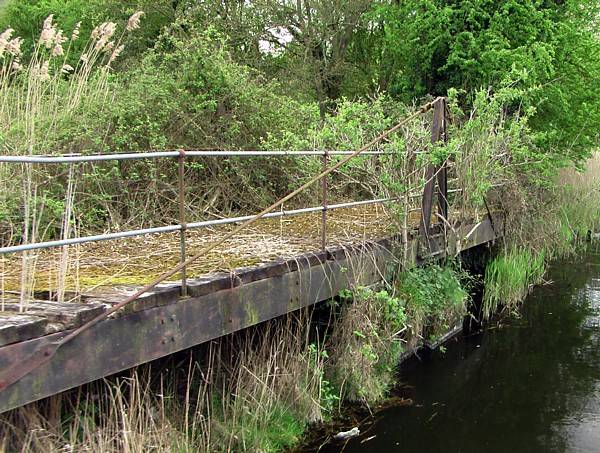
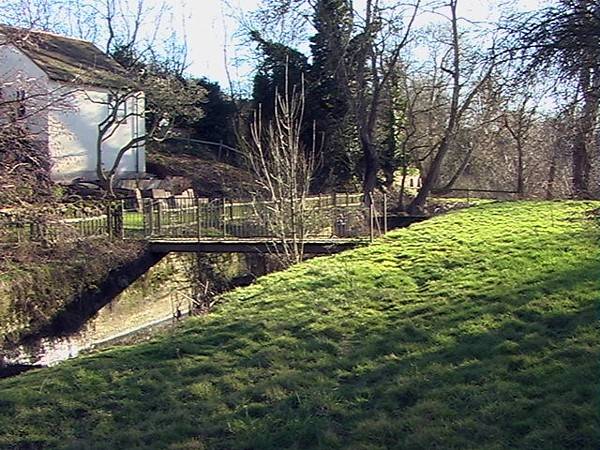
Swing bridge in Vines Park
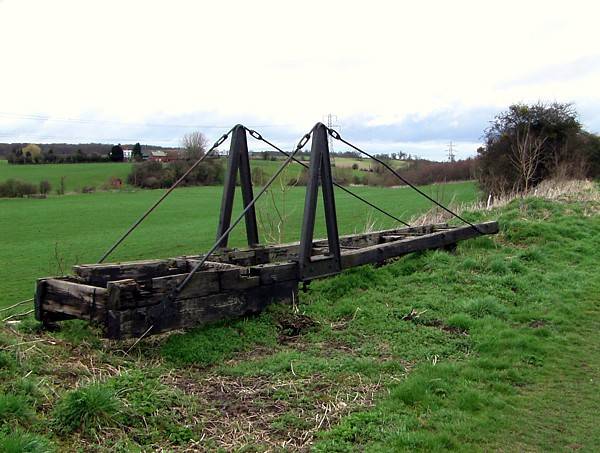
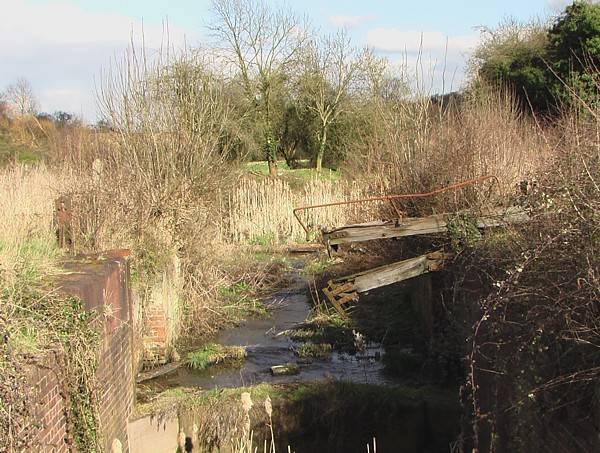
Remains of Salwarpe Court Swingbridge
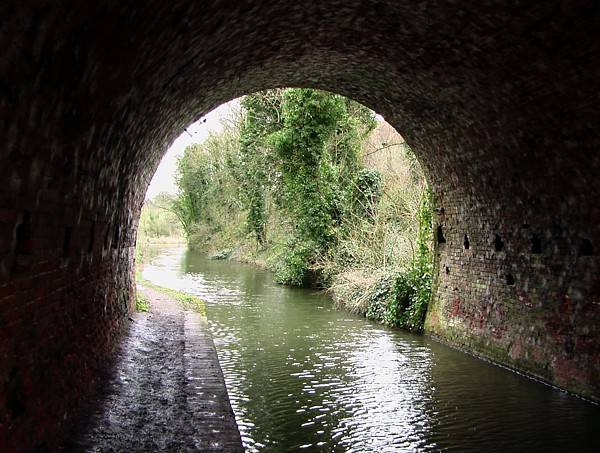
Salwarpe Tunnel
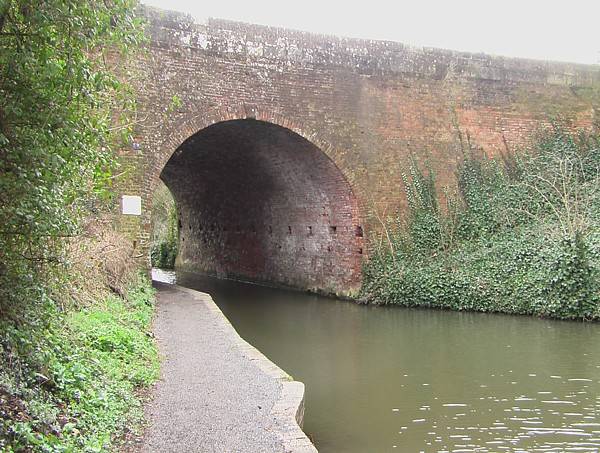
Salwarpe Tunnel
Hill End Swingbridge
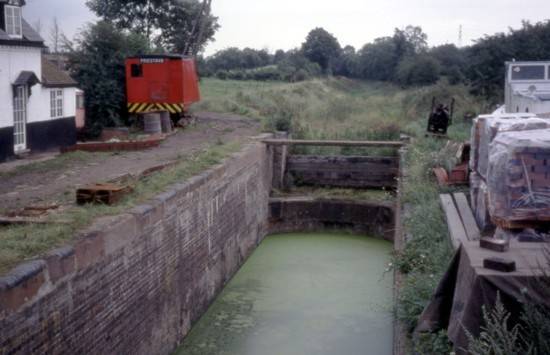
Ladywood Top Lock 8, 1980
Ladywood Lock 5, 1980
Porters Mill Lock 4

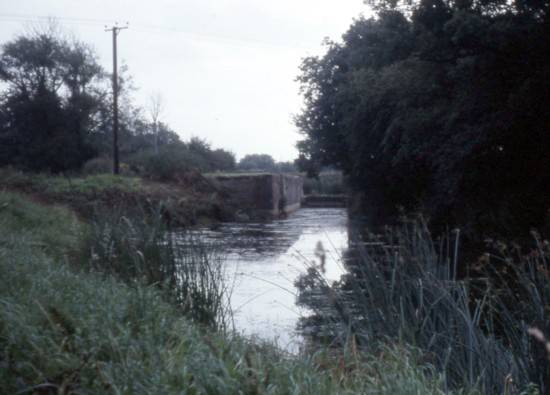
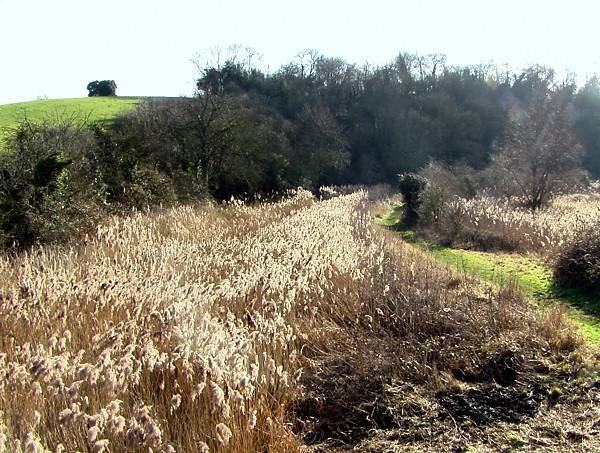
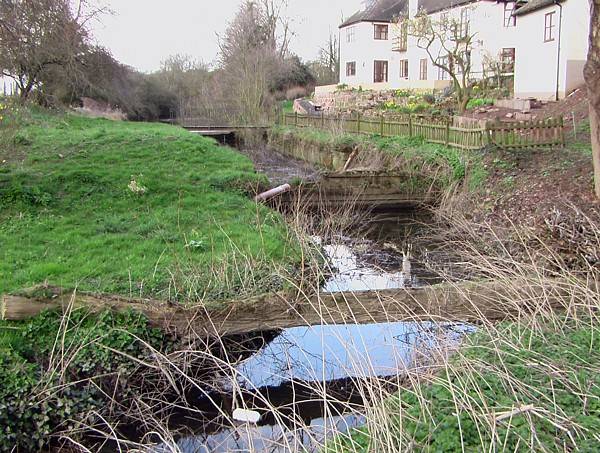
Looking South from Porters Mill Lock
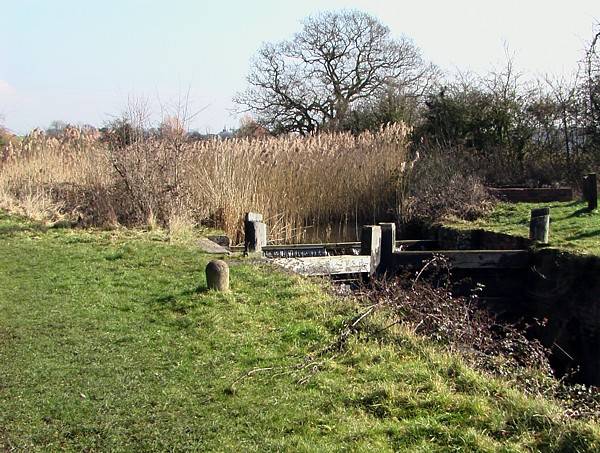
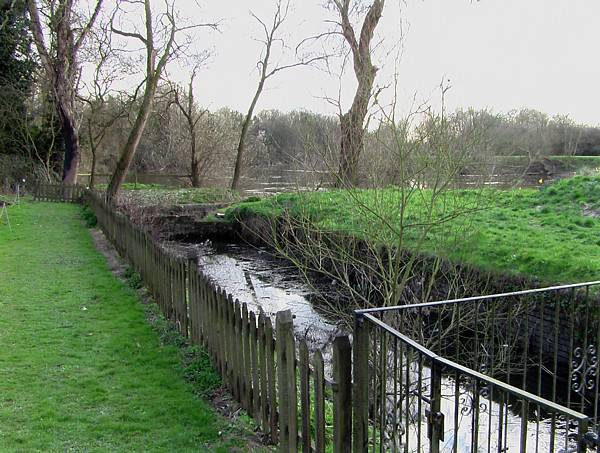
Weir near Porter's Mill
Top gates of Mildenham Lock 3
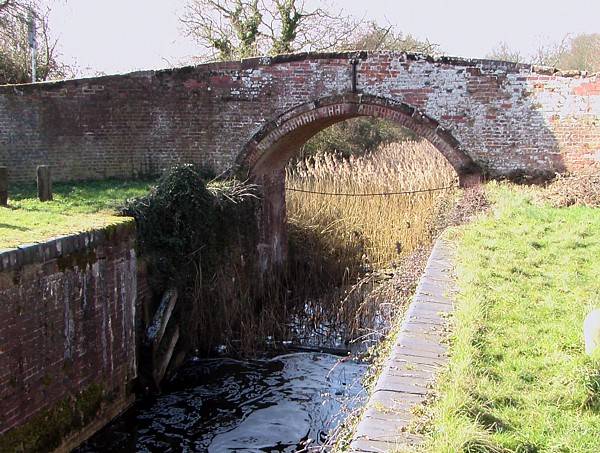
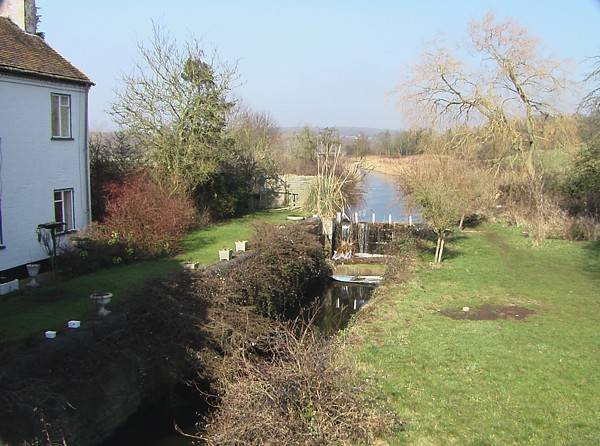
Mildenham Lock and Bridge
Mildenham Bridge from the west
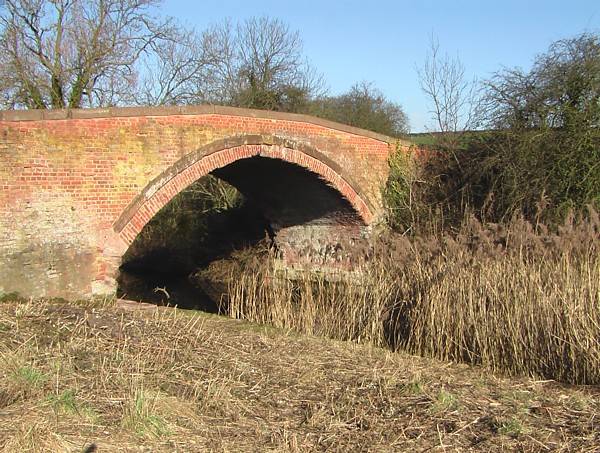
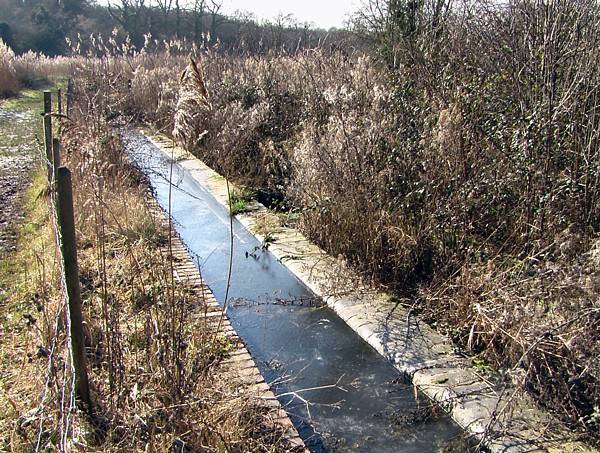
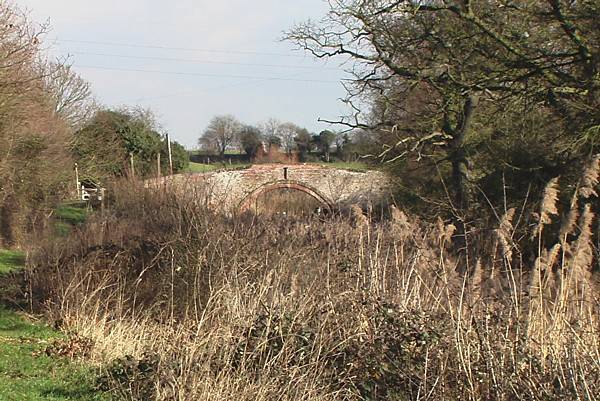
Linacre Bridge
Looking South from Linacre Bridge
Top gates of Hawford Lock 2
Top end of Hawford Lock 2
Hawford Lock 1
Hawford Lock 1 with the Severn in the background
Hawford Lock 1 with the Lock House